I am way behind with updates, so to catch up a bit, here's a quick rundown of how to swap your crummy, cloudy old headlights with nice, clear, shiny new ones. A while back, I had scored a brand new original Ford and one super nice used example, and last year decided to install them and stop worrying that I'd be inviting some sort of smash-up simply by them being there (would be my luck, just like every single time I get brand new tires, I get nails and screws stuck in them!).
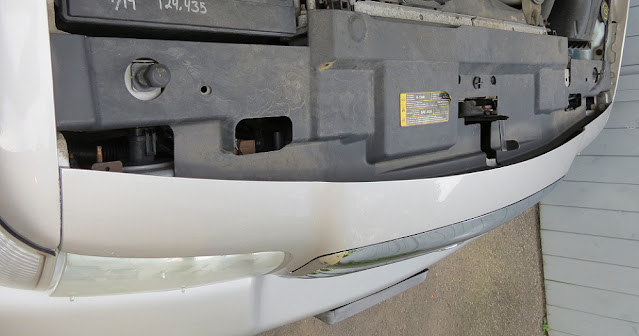 |
| STEP ONE: Open the hood, and remove the black plastic filler panel/radiator cover |
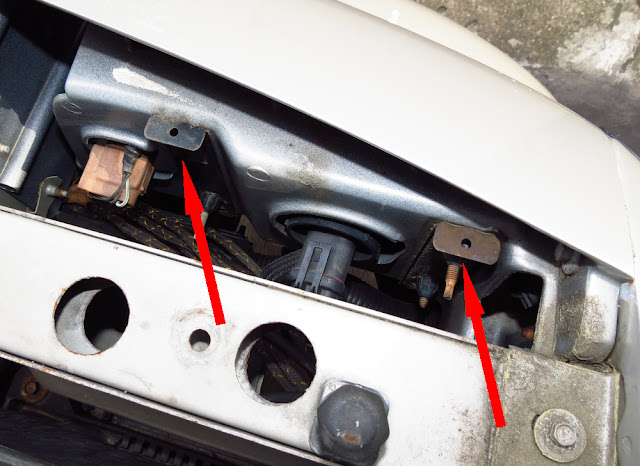 |
| STEP TWO: Take a tool that you are comfortable with and slide these two retaining brackets UP to free the headlight |
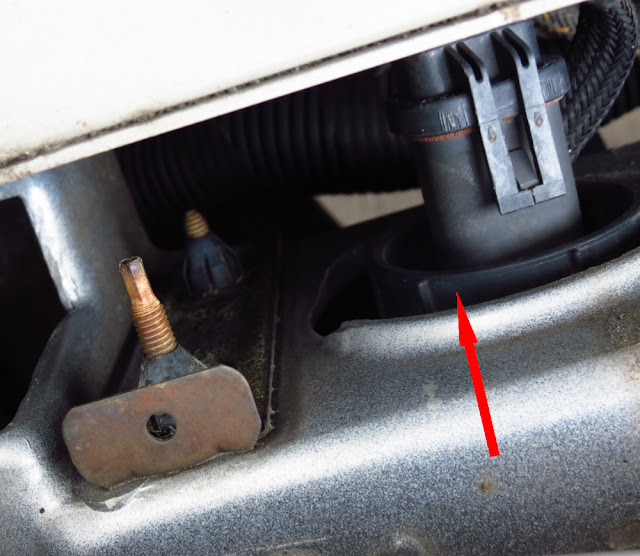 |
| STEP THREE: Unscrew the round plastic retainer around the main headlight bulb. Mine was broken and slid right out. You can now slide the headlight unit out of the car |
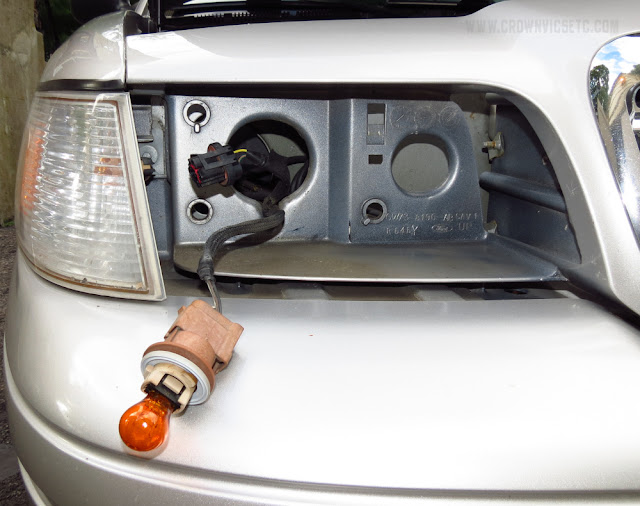 |
| Headlight removed showing wiring harness |
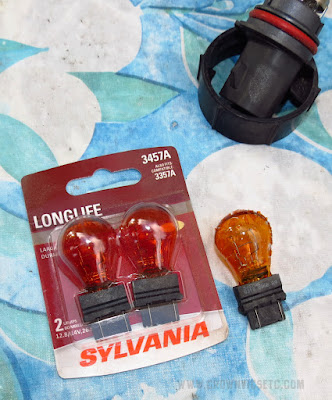 |
| STEP FOUR: Replace any bulbs you want to update. As you can see, my "blinkas" were nasty looking, so I swapped in new ones. I also had a spare retaining ring from the used headlight to replace my broken original |
 |
Comparison of original, 15 year old headlight with NOS replacement. Notice the positioning pins are also the adjustments to align the headlights once they are on the car
NOW just reverse the process! I matched the alignment pins to the old ones, assuming that the lighting would then match. I was wrong... Use either a small socket or plyers, etc to properly align them. Not sure how? Here are some links to help you out:
|
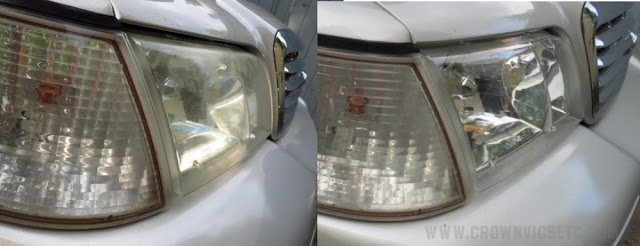 |
Before... after...
|


No comments:
Post a Comment